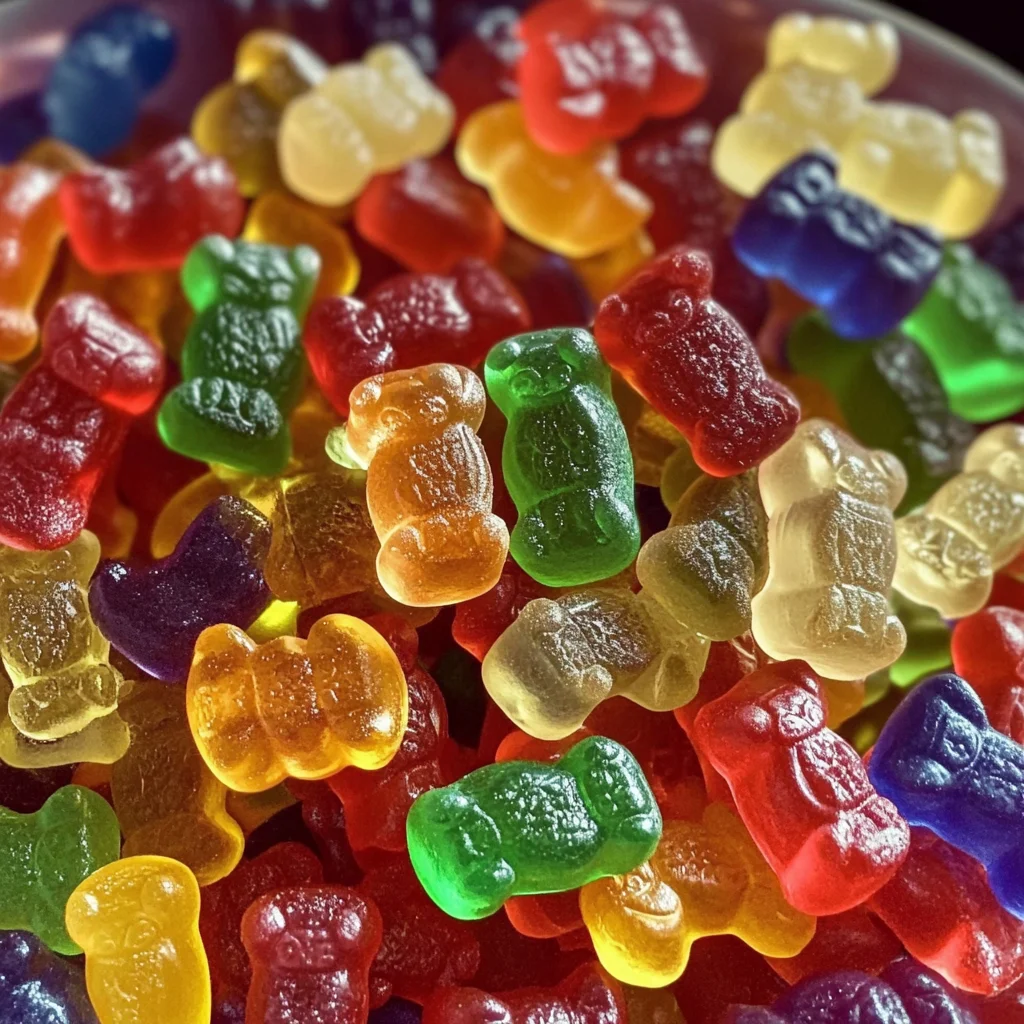
Homemade Sugar Free Gummy Candy
You will enjoy this delicious recipe for Homemade Sugar Free Gummy Candy that is not only simple to prepare but also perfect for various occasions. Whether you need a fun snack for the kids, a party treat, or a guilt-free indulgence, these gummies are sure to impress. With customizable flavors and colors, they stand out as a delightful alternative to store-bought candies.
Why You’ll Love This Recipe
- Healthier Option: These gummies are sugar-free and made with vegan ingredients, making them a great choice for health-conscious individuals.
- Easy Preparation: With just three ingredients and minimal steps, you can whip up these treats in no time.
- Customizable Flavors: Experiment with different fruit juices to create your favorite flavor combinations.
- Perfect for Any Occasion: Whether it’s a birthday party or a movie night at home, these gummies are an instant hit.
- Low Carb Friendly: Ideal for those following keto or low-carb diets.
Tools and Preparation
Before diving into the recipe, gather your tools. Having everything ready will streamline the process.
Essential Tools and Equipment
- Candy molds
- Nonstick spray
- Medium saucepan
- Whisk
- Dropper or pipette
Importance of Each Tool
- Candy molds: These shapes give your gummies their fun form and make them visually appealing.
- Nonstick spray: This ensures easy removal of the gummies from the molds without sticking.
- Medium saucepan: A suitable size for mixing the ingredients without spilling.
- Dropper or pipette: Allows for precise filling of the molds, ensuring perfect gummy shapes.
Ingredients
To make your own delicious Homemade Sugar Free Gummy Candy, gather the following ingredients:
For the Gummies
- 1 Box Sugar Free Vegan vegan gelatin
- 1.5 Ounces Unflavored Vegan vegan gelatin
- 1/2 Cup Cold Water
How to Make Homemade Sugar Free Gummy Candy
Step 1: Prep Your Molds
Start by prepping your candy molds with nonstick spray. Tip: Place the molds on a cookie sheet to make it easier to move them around later on.
Step 2: Mix Gelatin with Water
In a medium saucepan (2-4 quart), whisk together both the flavored and unflavored vegan gelatin along with the cold water. When the vegan gelatin is fully dissolved, place the saucepan on medium heat. Allow the mixture to liquefy on the stove while whisking as needed. Once thoroughly liquefied, remove it from heat.
Step 3: Fill Your Molds
Carefully use a dropper or pipette to fill the prepped molds with the liquid mixture. Allow the candy to cool in the molds. You can place them in a refrigerator for a few hours or in a freezer for 15-20 minutes until set.
Enjoy your homemade treats!
How to Serve Homemade Sugar Free Gummy Candy
These delightful Homemade Sugar Free Gummy Candies are not only tasty but also versatile. You can serve them in various ways to make your snacking experience even more enjoyable.
For Parties
- Candy Buffet: Create a vibrant candy buffet with different flavors and colors of gummies for guests to enjoy.
- Party Favors: Package small bags of gummies as fun party favors for guests to take home.
As a Snack
- Quick Energy Boost: Keep a small container of these gummies on hand for a quick pick-me-up during the day.
- Movie Night Treat: Enjoy these homemade candies as a sweet treat while watching your favorite movies at home.
In Desserts
- Ice Cream Topping: Use the gummies as colorful toppings on ice cream or yogurt for added fun and texture.
- In Jello Desserts: Incorporate these gummies into jello desserts for an extra layer of flavor and chewiness.
How to Perfect Homemade Sugar Free Gummy Candy
Perfecting your Homemade Sugar Free Gummy Candy is easier than you think. Here are some tips to ensure they turn out just right.
- Choose the right molds: Silicone molds work best as they allow for easy removal of the gummy candies after they set.
- Whisk thoroughly: Ensure you whisk the gelatin mixture well until fully dissolved to avoid any lumps in your gummies.
- Monitor heat carefully: Keep the heat at medium to prevent burning the gelatin mixture, which can affect texture.
- Experiment with flavors: Use various fruit juices or natural flavorings to create unique gummy variations that suit your taste.
- Cool properly: Allow the gummies to cool in the molds completely before removing, ensuring they hold their shape.
Best Side Dishes for Homemade Sugar Free Gummy Candy
Pairing side dishes with your Homemade Sugar Free Gummy Candy can enhance your snack time. Here are some great options:
- Fresh Fruit Salad: A refreshing mix of seasonal fruits complements the sweetness of the gummy candies.
- Vegetable Crudités: Crisp vegetables like carrots, celery, and bell peppers add a crunchy contrast to the chewy gummies.
- Nut Mix: A blend of nuts provides a satisfying crunch and healthy fats that balance out the sweetness of the candy.
- Yogurt Parfait: Layer yogurt with fruit and granola, adding gummies for a fun twist on this classic dish.
- Cheese Platter: A selection of cheeses pairs nicely with sweets, offering a savory element alongside your candies.
- Rice Cakes: Light and crispy rice cakes can serve as a neutral base, allowing the flavors of the gummies to shine.
Common Mistakes to Avoid
Making Homemade Sugar Free Gummy Candy can be rewarding, but there are common pitfalls to watch out for.
- Ignoring the gelatin instructions: Always follow the preparation instructions on your vegan gelatin package. Not doing so can lead to gummy candies that don’t set properly.
- Using the wrong molds: Silicone molds work best for gummies. Using hard plastic molds may make it difficult to remove the finished candy.
- Not measuring ingredients accurately: Accurate measurements are crucial for achieving the right texture. Use a kitchen scale or measuring cups for precision.
- Overheating the mixture: Heating too much can break down your gelatin, resulting in a less desirable texture. Keep the heat medium and stir frequently.
- Skipping cooling time: Allowing the gummies to cool properly is essential for them to set correctly. Patience will yield better results.
Storage & Reheating Instructions
Refrigerator Storage
- Store in an airtight container to keep them fresh.
- They will last about 1-2 weeks in the refrigerator.
Freezing Homemade Sugar Free Gummy Candy
- Place gummies in a freezer-safe bag or container.
- They can be frozen for up to 3 months.
Reheating Homemade Sugar Free Gummy Candy
- Oven: Preheat oven to a low temperature. Place gummies on a baking sheet until soft.
- Microwave: Heat in short bursts of 5-10 seconds, checking consistency after each interval.
- Stovetop: Use a saucepan over low heat, gently stirring until they melt just enough for reshaping.
Frequently Asked Questions
Here are some common questions about making Homemade Sugar Free Gummy Candy.
How do I make my gummy candies firmer?
You can add more unflavored vegan gelatin to your mixture for a firmer texture. Adjust gradually until you achieve your desired firmness.
Can I use fruit juice instead of water?
Yes, using fruit juice will add flavor and color! Just ensure it’s sugar-free if you want to keep it aligned with the recipe.
What flavors can I use for my gummies?
You can use any sugar-free flavored vegan gelatin available in stores. You could also experiment with natural flavorings like citrus juices or extracts.
How do I avoid stickiness in my gummies?
Make sure your molds are well-greased before pouring in your mixture. A light dusting of cornstarch after they’ve set can also help reduce stickiness.
Can I customize my homemade gummy shapes?
Absolutely! You can use different molds to create various shapes that suit your preferences or themes for parties and events.
Final Thoughts
This Homemade Sugar Free Gummy Candy recipe is not only simple but also customizable, allowing you to explore various flavors and shapes. Whether you’re looking for a sweet treat or a healthier snack option, these gummies are perfect for everyone. Try this recipe today and have fun with different ingredients!
Homemade Sugar Free Gummy Candy

Indulge in the fun of making your very own Homemade Sugar Free Gummy Candy! This delightful recipe combines simplicity and creativity, perfect for any occasion, from kids’ snacks to party treats. These gummies are customizable with various fruit juices and flavors, allowing you to craft a unique candy experience that’s both guilt-free and delicious. With only three ingredients and minimal effort required, you’ll love how easy it is to whip up these chewy delights at home. Enjoy a healthier alternative to store-bought candies that aligns with your dietary preferences while satisfying your sweet tooth!
- Prep Time: 10 minutes
- Cook Time: 5 minutes
- Total Time: 15 minutes
- Yield: Approximately 20 gummies 1x
- Category: Dessert
- Method: No-Cook
- Cuisine: American
Ingredients
- 1 box sugar-free vegan gelatin
- 1.5 ounces unflavored vegan gelatin
- 1/2 cup cold water
Instructions
- Prep your candy molds with nonstick spray and place them on a cookie sheet for easy handling.
- In a medium saucepan, whisk together the flavored and unflavored vegan gelatin with the cold water until fully dissolved. Heat over medium heat while stirring until liquefied, then remove from heat.
- Carefully fill the prepared molds using a dropper or pipette. Allow the gummies to cool until set—refrigerate for a few hours or freeze for 15-20 minutes.
Nutrition
- Serving Size: 5 gummies (30g)
- Calories: 60
- Sugar: 0g
- Sodium: 10mg
- Fat: 0g
- Saturated Fat: 0g
- Unsaturated Fat: 0g
- Trans Fat: 0g
- Carbohydrates: 15g
- Fiber: 0g
- Protein: 0g
- Cholesterol: 0mg