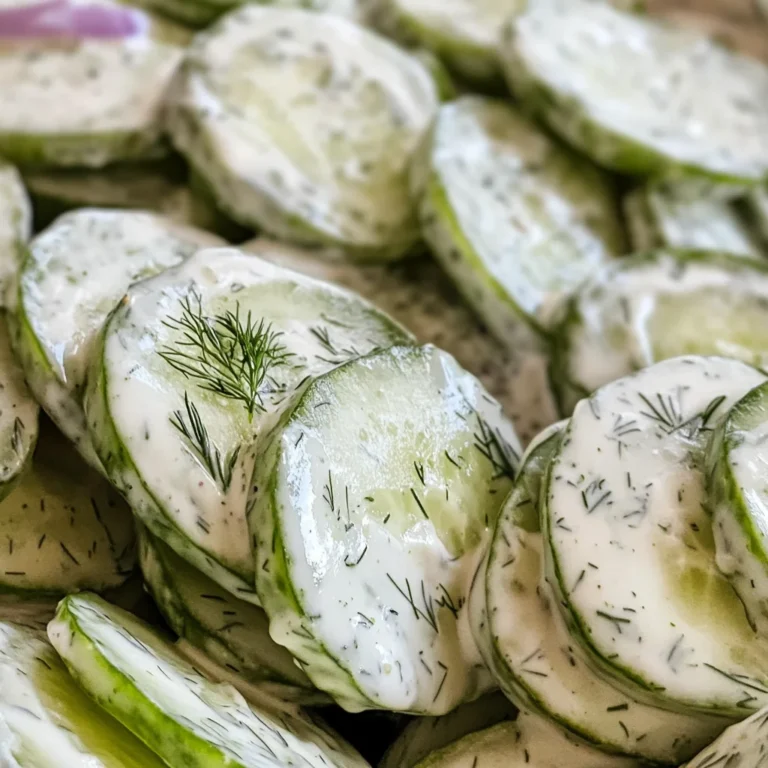
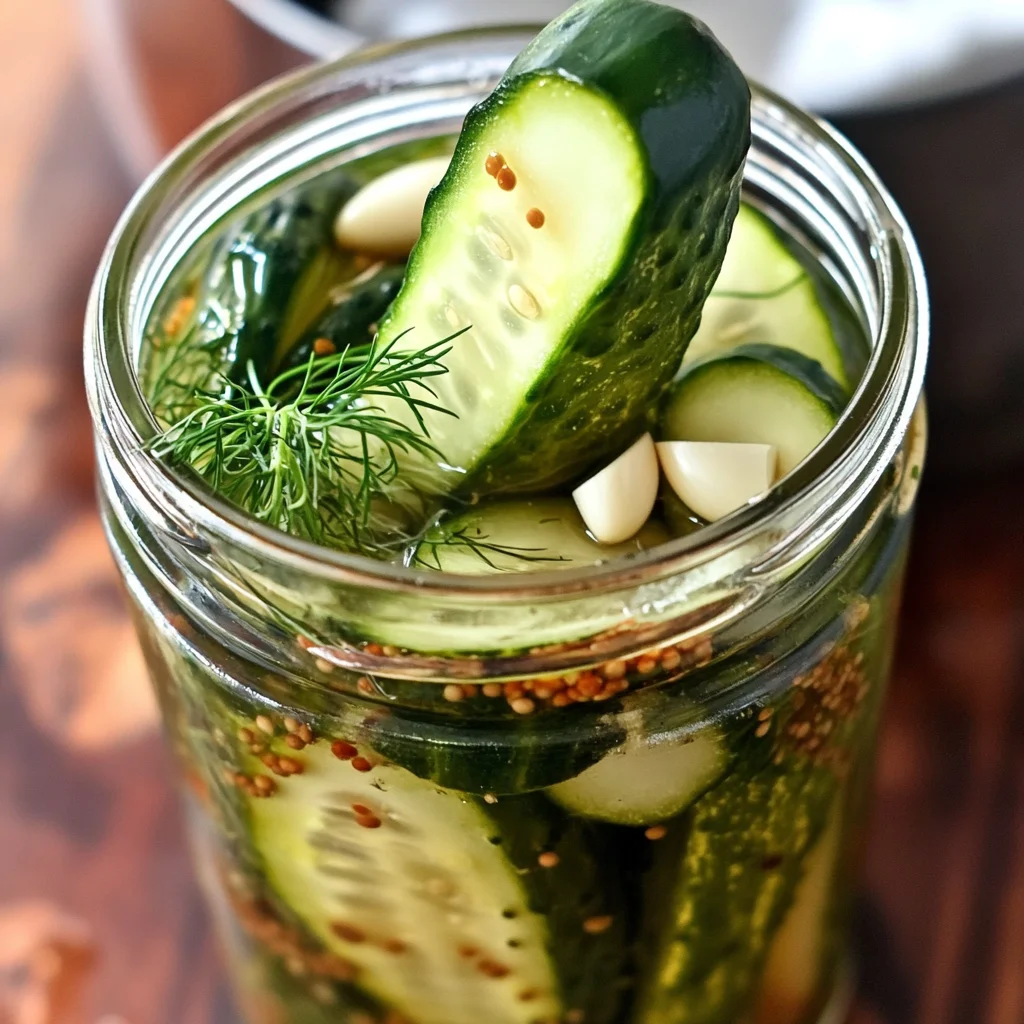
Refrigerator Dill Pickles
If you love pickles, you can make your own at home with this fantastic Refrigerator Dill Pickles recipe! Fresh cucumber slices in a homemade pickle brine with pickling spices, fresh garlic, and dill – you’ll be so surprised how easy it is to make homemade pickles that taste way better than store-bought pickles! Perfect for barbecues, picnics, or just snacking on, these pickles are sure to impress.
Why You’ll Love This Recipe
- Easy to Make: With simple steps and minimal prep time, you can whip up a batch of delicious Refrigerator Dill Pickles in no time.
- Fresh Flavors: Enjoy the bright taste of fresh cucumbers combined with aromatic dill and garlic, giving your pickles a unique twist.
- Versatile Uses: These pickles are perfect for sandwiches, burgers, or as a crunchy snack on their own.
- Storage Friendly: Since they’re stored in the refrigerator, you can enjoy them for up to a month.
- Healthier Option: Homemade pickles allow you to control the ingredients, making them a healthier alternative to many store-bought varieties.
Tools and Preparation
Before diving into the recipe, gather your tools and prepare your ingredients. Having everything ready will streamline the process and ensure delicious results.
Essential Tools and Equipment
- Jar with lid
- Medium saucepan
- Knife
- Cutting board
Importance of Each Tool
- Jar with lid: Essential for storing your pickles safely in the refrigerator while keeping them crisp.
- Medium saucepan: Needed for preparing the brine; its size ensures even heating of all ingredients.
Ingredients
For the Brine
- 3 cups water
- 3/4 cup white vinegar
- 3 tablespoons granulated sugar
- 2 tablespoons kosher salt
For the Pickles
- 6 small cucumbers
- 8 sprigs fresh dill
- 4 cloves garlic (peeled and sliced thin)
- 2 tablespoons pickling spice
How to Make Refrigerator Dill Pickles
Step 1: Prepare the Brine
- In a medium saucepan, combine the water, vinegar, granulated sugar, and 2 tablespoons of salt.
- Bring to a boil over medium to medium-high heat.
- Reduce the heat to low and simmer for 15 minutes.
- Set aside to cool.
Step 2: Prepare the Cucumbers
- Wash the cucumbers thoroughly.
- Cut each cucumber into 4 spears for a total of 24 spears.
- If necessary, trim one end of each cucumber so they fit into jars without sticking out.
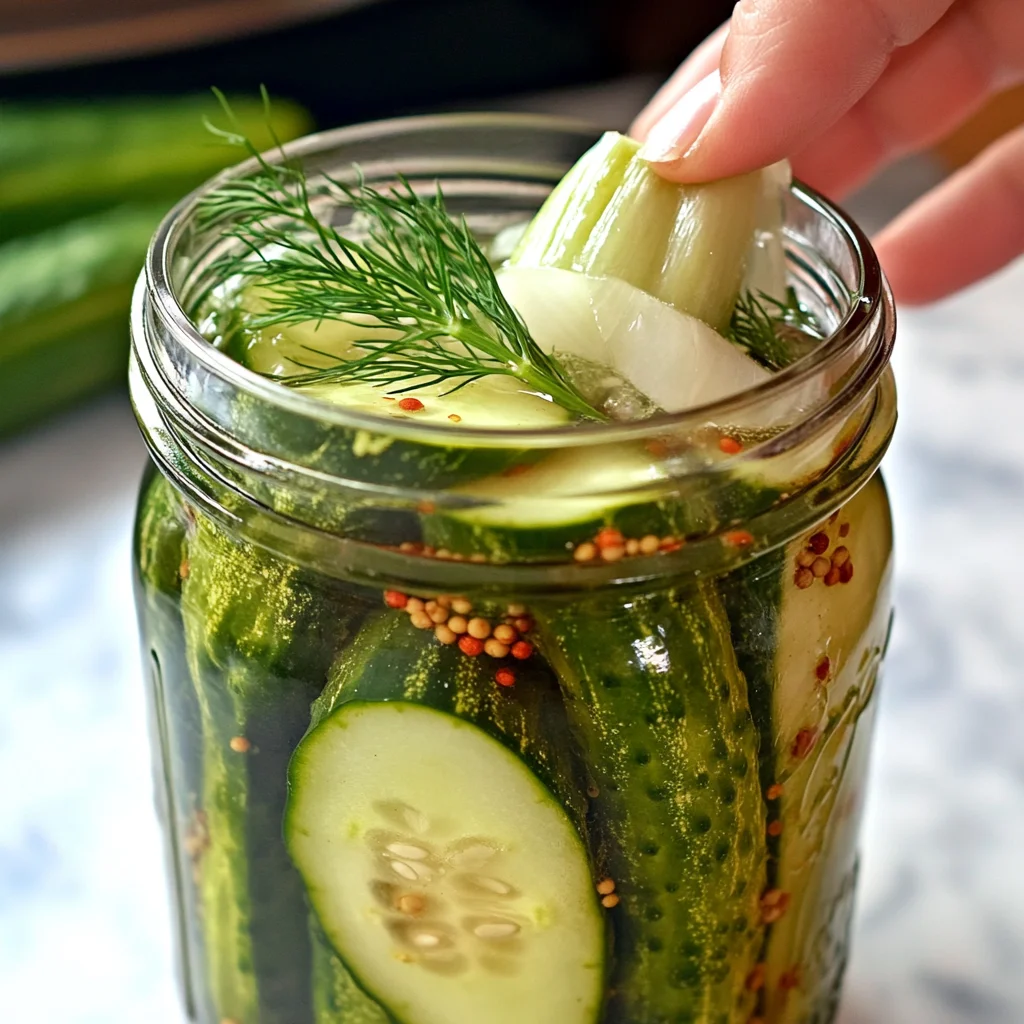
Step 3: Assemble the Jars
- Fill each jar with cucumber spears (it’s okay if not all fit).
- Push fresh dill sprigs down between cucumbers in each jar.
- Add sliced garlic and pickling spices evenly into each jar.
Step 4: Add the Brine
- Pour the warm brine evenly into each jar until cucumbers are fully submerged.
- Seal each jar tightly with its lid.
Step 5: Refrigerate
- Place jars in the refrigerator for at least 24 hours before serving.
- Keep refrigerated for up to one month; discard any leftovers after this period.
Enjoy your homemade Refrigerator Dill Pickles as a delightful side dish or snack!
How to Serve Refrigerator Dill Pickles
Refrigerator Dill Pickles are versatile and can complement many dishes. Their tangy flavor and crunchy texture make them an excellent addition to various meals. Here are some creative serving suggestions to enjoy these homemade delights.
As a Snack
- Straight from the Jar: Enjoy the pickles right out of the jar for a quick and refreshing snack.
- With Cheese and Crackers: Pair with your favorite cheese and crackers for a delightful appetizer.
In Sandwiches
- On a Sandwich: Add slices to any sandwich for extra flavor—great with turkey or beef.
- In a Wrap: Incorporate into wraps for added crunch and zest.
As a Side
- Alongside Burgers: Serve your pickles next to grilled burgers for a classic pairing.
- With Fried Foods: The acidity of pickles balances well with fried dishes like chicken tenders or fries.
In Salads
- Potato Salad: Chop pickles and mix into potato salad for added tanginess.
- Tuna Salad: Dice them up in tuna salad for a flavorful twist.
How to Perfect Refrigerator Dill Pickles
To ensure your Refrigerator Dill Pickles turn out perfectly every time, follow these handy tips. They will enhance your pickling process and result in delicious flavors.
- Use Fresh Cucumbers: Choose firm, fresh cucumbers without blemishes for the best texture and flavor.
- Adjust Spice Levels: Experiment with different amounts of pickling spices based on your taste preference; add more if you enjoy stronger flavors.
- Cool the Brine Completely: Let the brine cool before pouring it over cucumbers to maintain their crunchiness.
- Seal Tightly: Ensure jars are sealed tightly to prevent air from spoiling your pickles during refrigeration.
Best Side Dishes for Refrigerator Dill Pickles
Refrigerator Dill Pickles pair wonderfully with various side dishes that complement their tangy taste. Here are some delightful options to consider as you plan your meal.
- Coleslaw: A creamy or vinegar-based coleslaw works well, adding crunch and freshness to your plate.
- Potato Chips: Classic potato chips provide a satisfying crunch that pairs nicely with the acidity of the pickles.
- Deviled Eggs: Their creamy texture complements the sharpness of dill pickles beautifully, making them an ideal pairing.
- Macaroni Salad: Creamy macaroni salad balances well with the tartness of Refrigerator Dill Pickles.
- Grilled Vegetables: Charred veggies bring smoky flavors that enhance the taste of your homemade pickles.
- Cornbread Muffins: Sweet cornbread muffins contrast wonderfully with the savory bite of dill pickles, offering a delightful experience.
Common Mistakes to Avoid
Making Refrigerator Dill Pickles is simple, but there are a few common mistakes that can ruin your pickling experience.
- Starting with unwashed cucumbers: Always wash your cucumbers thoroughly before cutting. This removes any dirt and helps the brine penetrate better.
- Not cooling the brine: Allow the brine to cool before pouring it over cucumbers. Hot brine can make the pickles too soft.
- Skipping the pickling spices: Don’t overlook adding pickling spices as they provide essential flavor. Ensure you’re using a good mix for the best result.
- Using old or wilted cucumbers: Always choose fresh, firm cucumbers for your pickles. Wilted cucumbers will lead to mushy results.
- Not sealing jars properly: Make sure to seal each jar tightly after filling. This prevents air from getting in and causing spoilage.
Storage & Reheating Instructions
Refrigerator Storage
- Store your Refrigerator Dill Pickles in airtight jars in the fridge.
- They will stay fresh for about one month; discard any leftovers after this period.
Freezing Refrigerator Dill Pickles
- Freezing isn’t recommended as it changes the texture of the cucumbers, making them mushy when thawed.
Reheating Refrigerator Dill Pickles
- Oven: This method is not applicable for pickles as they are served cold.
- Microwave: Not recommended; pickles are best enjoyed cold and crunchy.
- Stovetop: Avoid heating; serve directly from the refrigerator for optimal taste.
Frequently Asked Questions
Here are some common questions about making Refrigerator Dill Pickles.
What are Refrigerator Dill Pickles?
Refrigerator Dill Pickles are quick-pickled cucumbers that don’t require canning. They’re stored in the fridge and are ready to eat within a day!
How long do Refrigerator Dill Pickles last?
These pickles last for up to one month when stored properly in an airtight container in the refrigerator.
Can I customize my Refrigerator Dill Pickles?
Absolutely! You can add different spices, such as red pepper flakes or mustard seeds, to create your unique flavor profile.
What type of vinegar is best for making Refrigerator Dill Pickles?
White vinegar is typically used, but you can also experiment with apple cider vinegar for a different taste!
Final Thoughts
Refrigerator Dill Pickles are a delightful addition to any meal or snack. The fresh crunch and tangy flavor make them appealing and versatile! Feel free to customize them with your favorite spices or herbs to match your taste preferences. Enjoy making your own homemade pickles today!
Refrigerator Dill Pickles
If you’re a pickle lover, you’ll adore these homemade Refrigerator Dill Pickles! This easy recipe combines fresh cucumber spears with a zesty brine made from water, vinegar, and spices, creating crunchy pickles bursting with flavor. Perfect for snacking or as an accompaniment to your meals, these pickles are not only simple to prepare but also customizable to suit your taste. With just a few ingredients and minimal prep time, you can enjoy delicious pickles that outshine store-bought varieties. Store them in your refrigerator for up to a month—if they last that long!
- Prep Time: 15 minutes
- Cook Time: 15 minutes
- Total Time: 30 minutes
- Yield: Approximately 24 servings (24 pickle spears) 1x
- Category: Snack
- Method: Refrigerating
- Cuisine: American
Ingredients
- 3 cups water
- 3/4 cup white vinegar
- 3 tablespoons granulated sugar
- 2 tablespoons kosher salt
- 6 small cucumbers
- 8 sprigs fresh dill
- 4 cloves garlic, sliced
- 2 tablespoons pickling spice
Instructions
- In a medium saucepan, combine the water, vinegar, sugar, and salt. Bring to a boil over medium heat.
- Reduce heat and simmer for 15 minutes; then let cool.
- Wash and cut cucumbers into spears.
- Pack spears into jars with dill sprigs and sliced garlic.
- Pour cooled brine over cucumbers until fully submerged.
- Seal jars tightly and refrigerate for at least 24 hours before enjoying.
Nutrition
- Serving Size: 1 pickle spear (30g)
- Calories: 10
- Sugar: 1g
- Sodium: 200mg
- Fat: 0g
- Saturated Fat: 0g
- Unsaturated Fat: 0g
- Trans Fat: 0g
- Carbohydrates: 2g
- Fiber: 0g
- Protein: <1g
- Cholesterol: 0mg